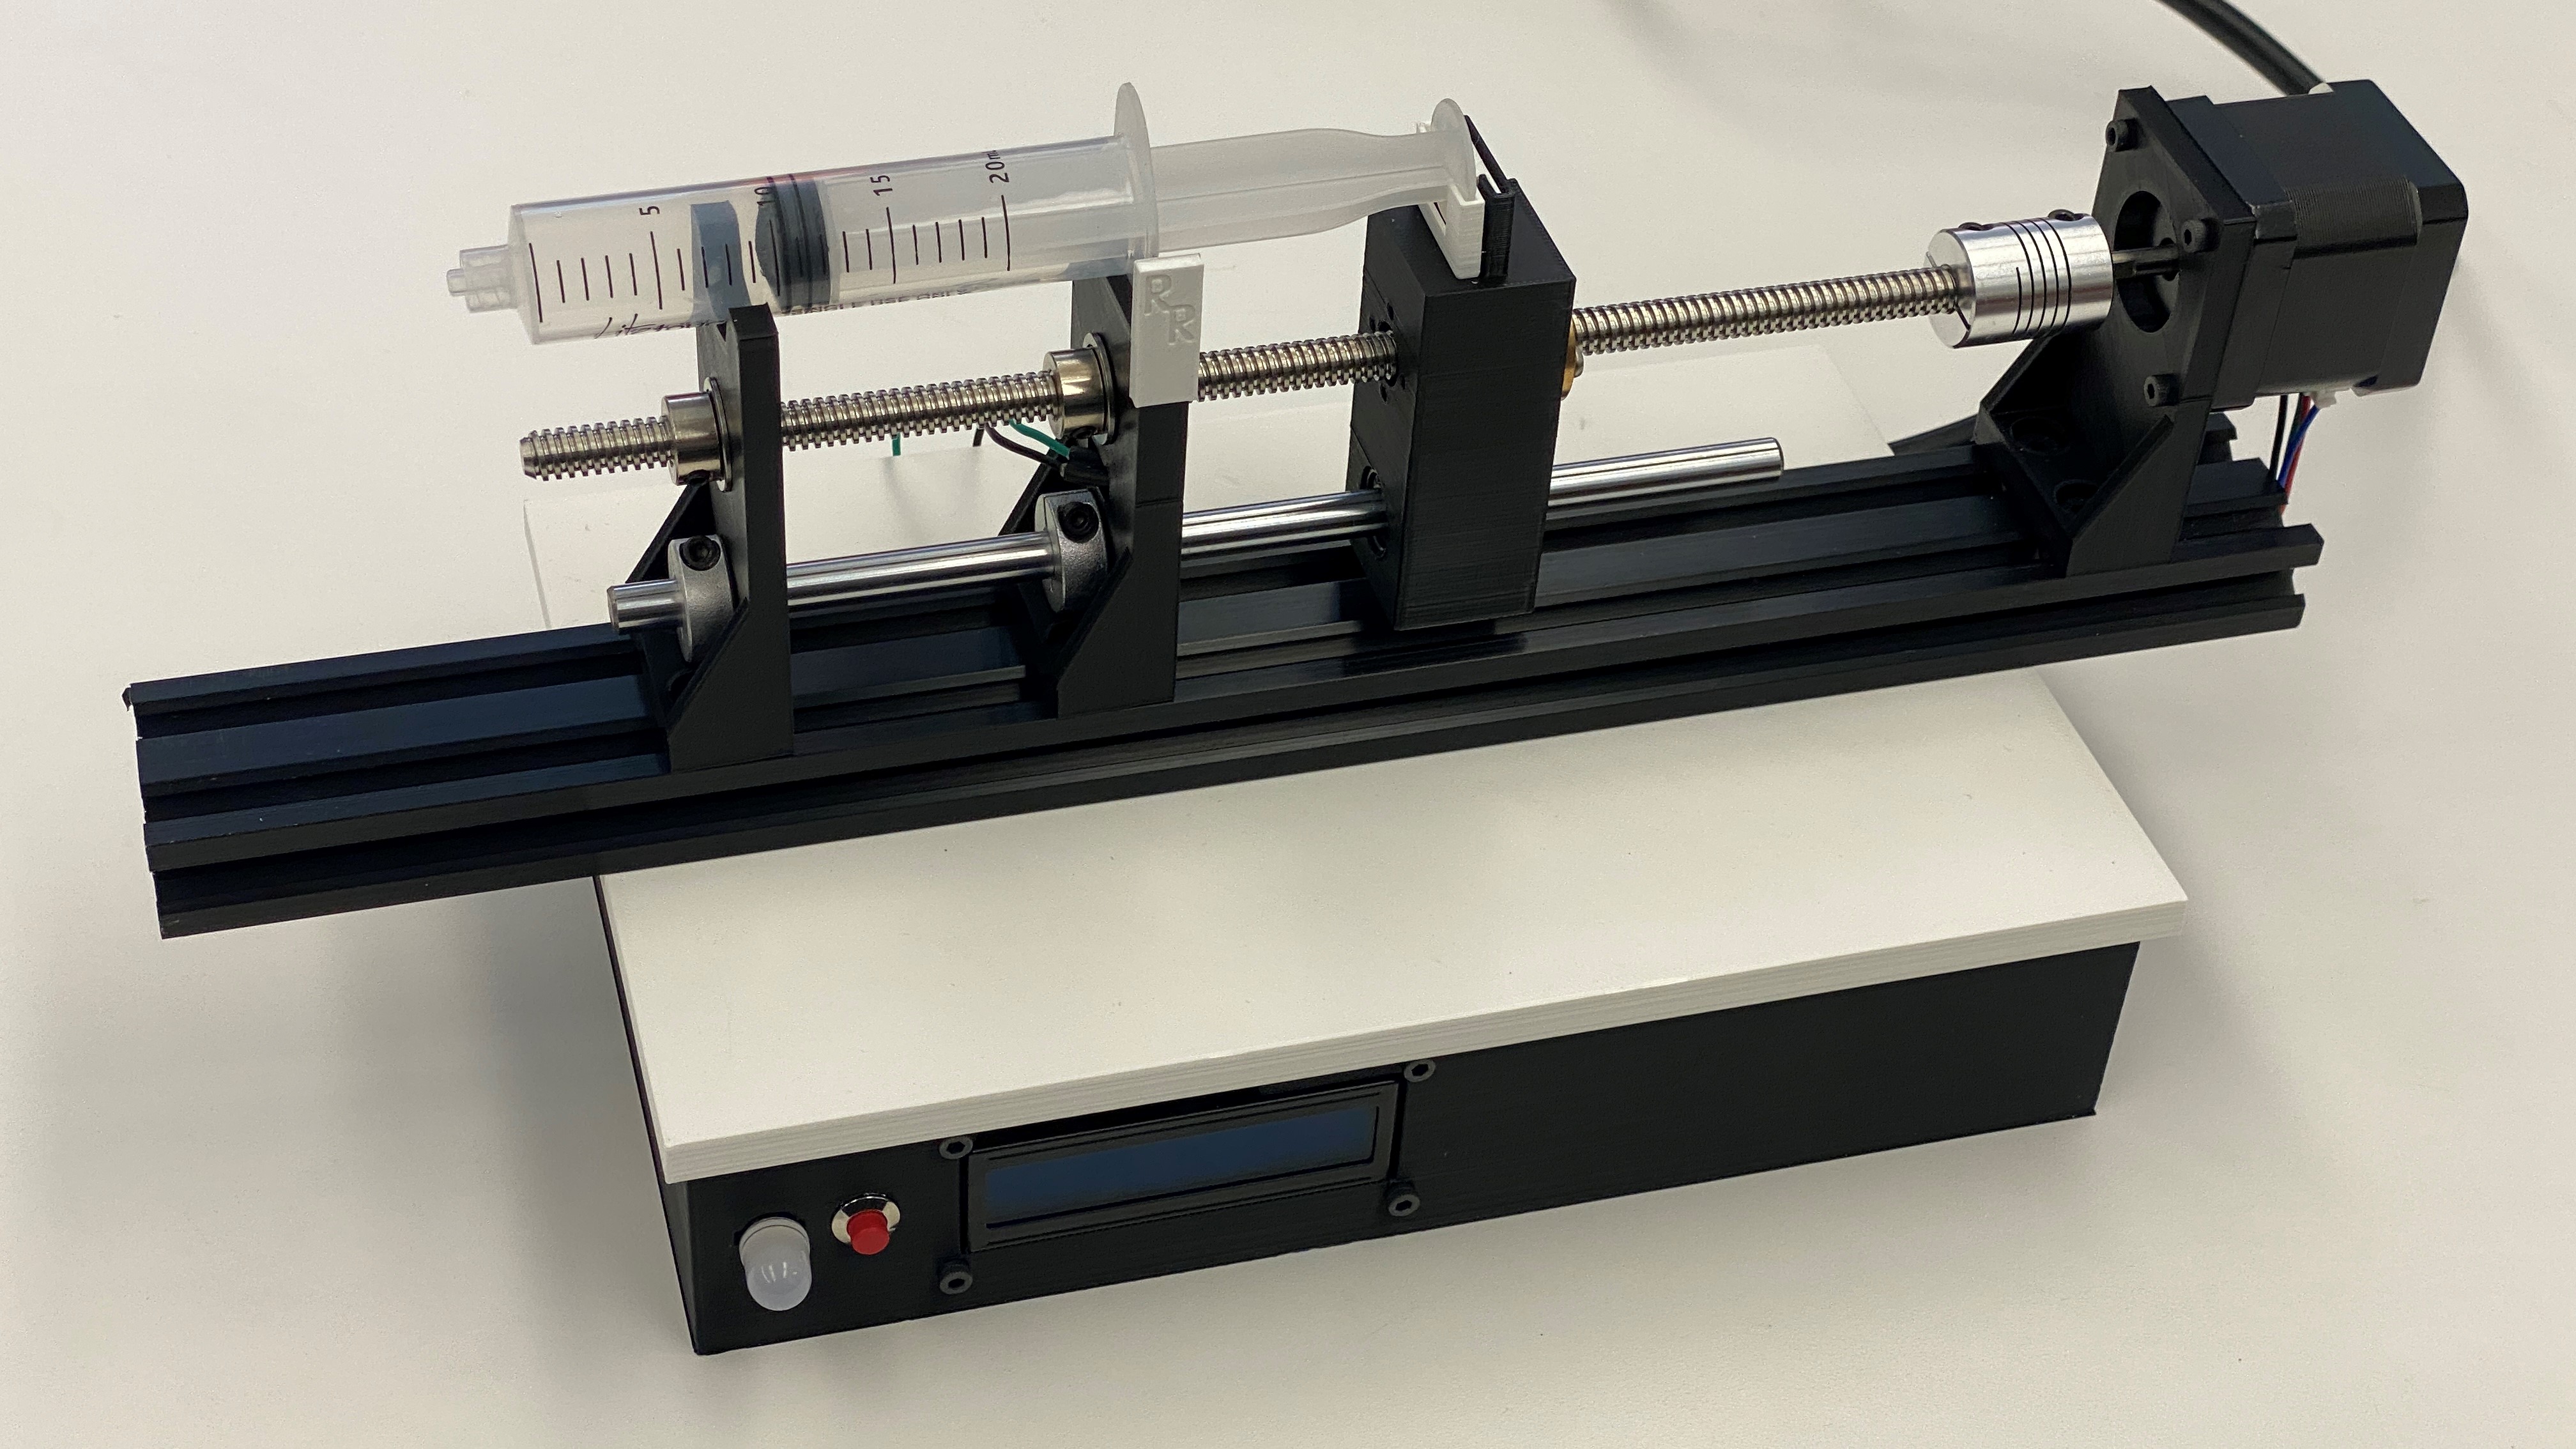
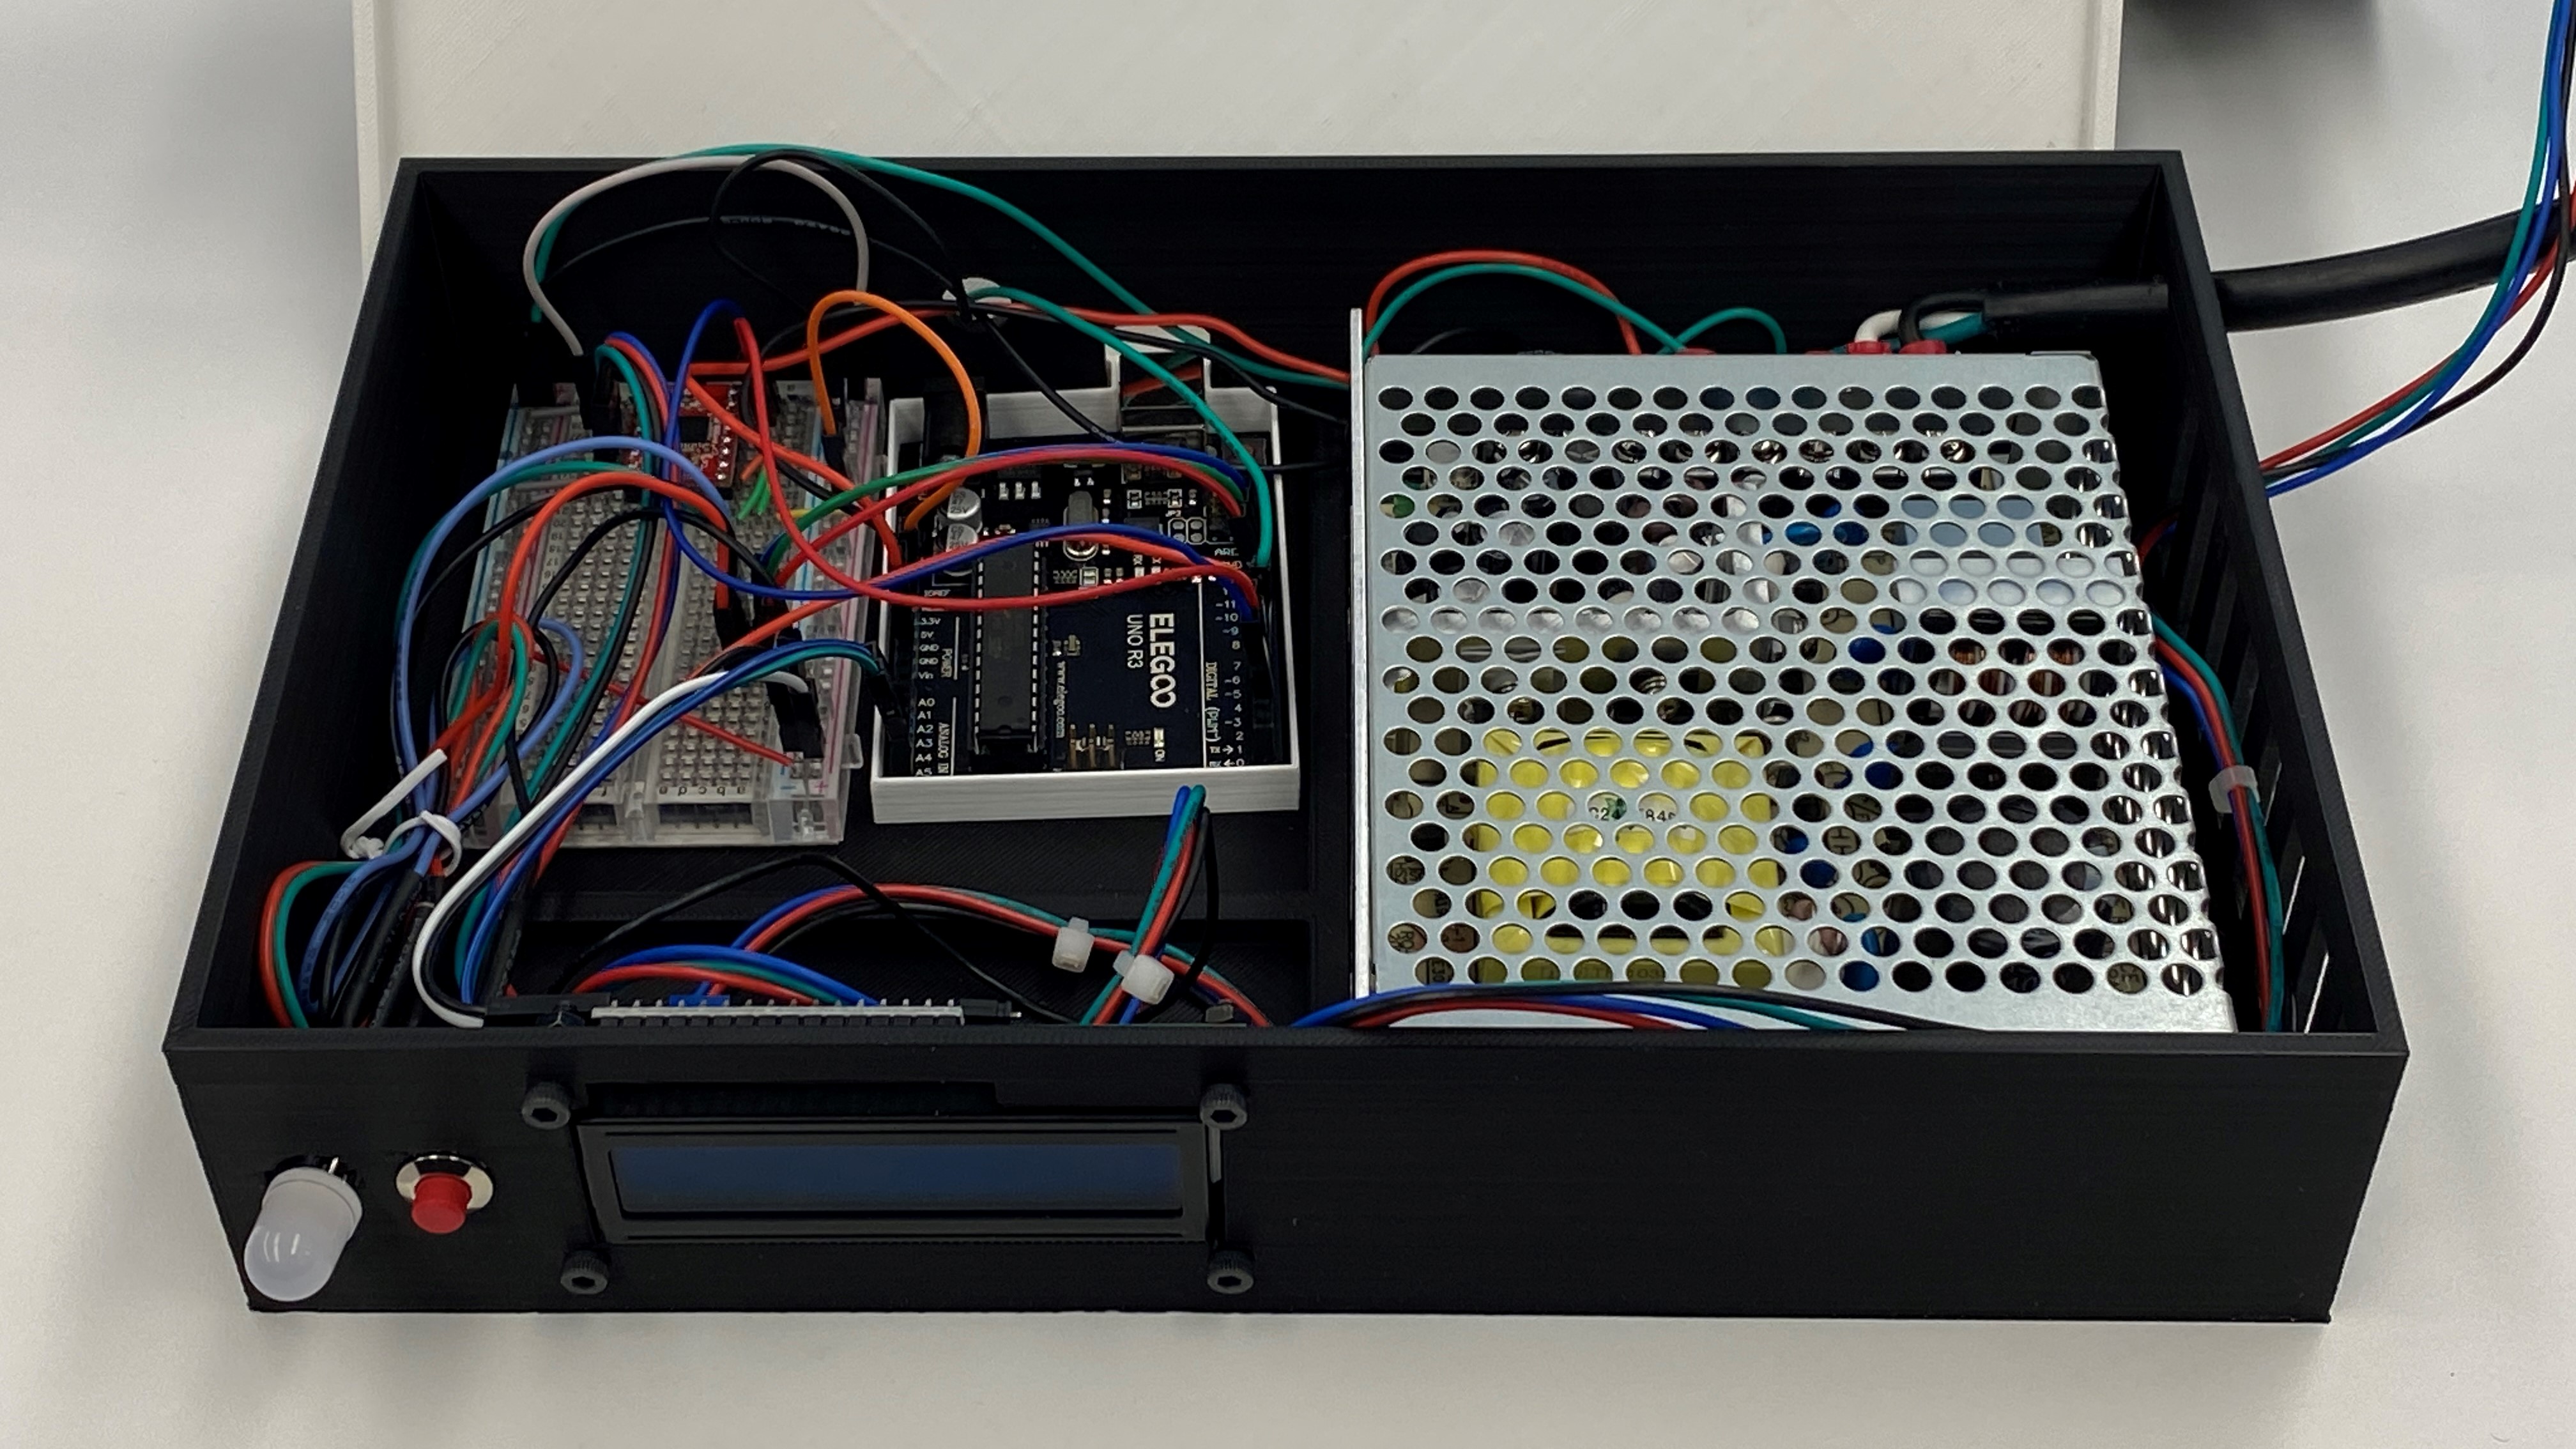
DIY Syringe Pump
Project Motivation
Syringe Pumps are commonly used in a plethora of medical scenarios to dispense precise quantities of medicine over an extended duration and in a fully automated way. However, these devices are very expensive, each costing thousands of dollars despite being fairly simply.
This project aims to use basic CAD, programming, and electronics principles to create a functional syringe pump on a minimal budget.
Design Features
- Status LED | RGB LED acts as a status indicator for the pump. Green indicates running; yellow indicates paused; red indicates attention is needed either because the pump has finished or because there has been an error.
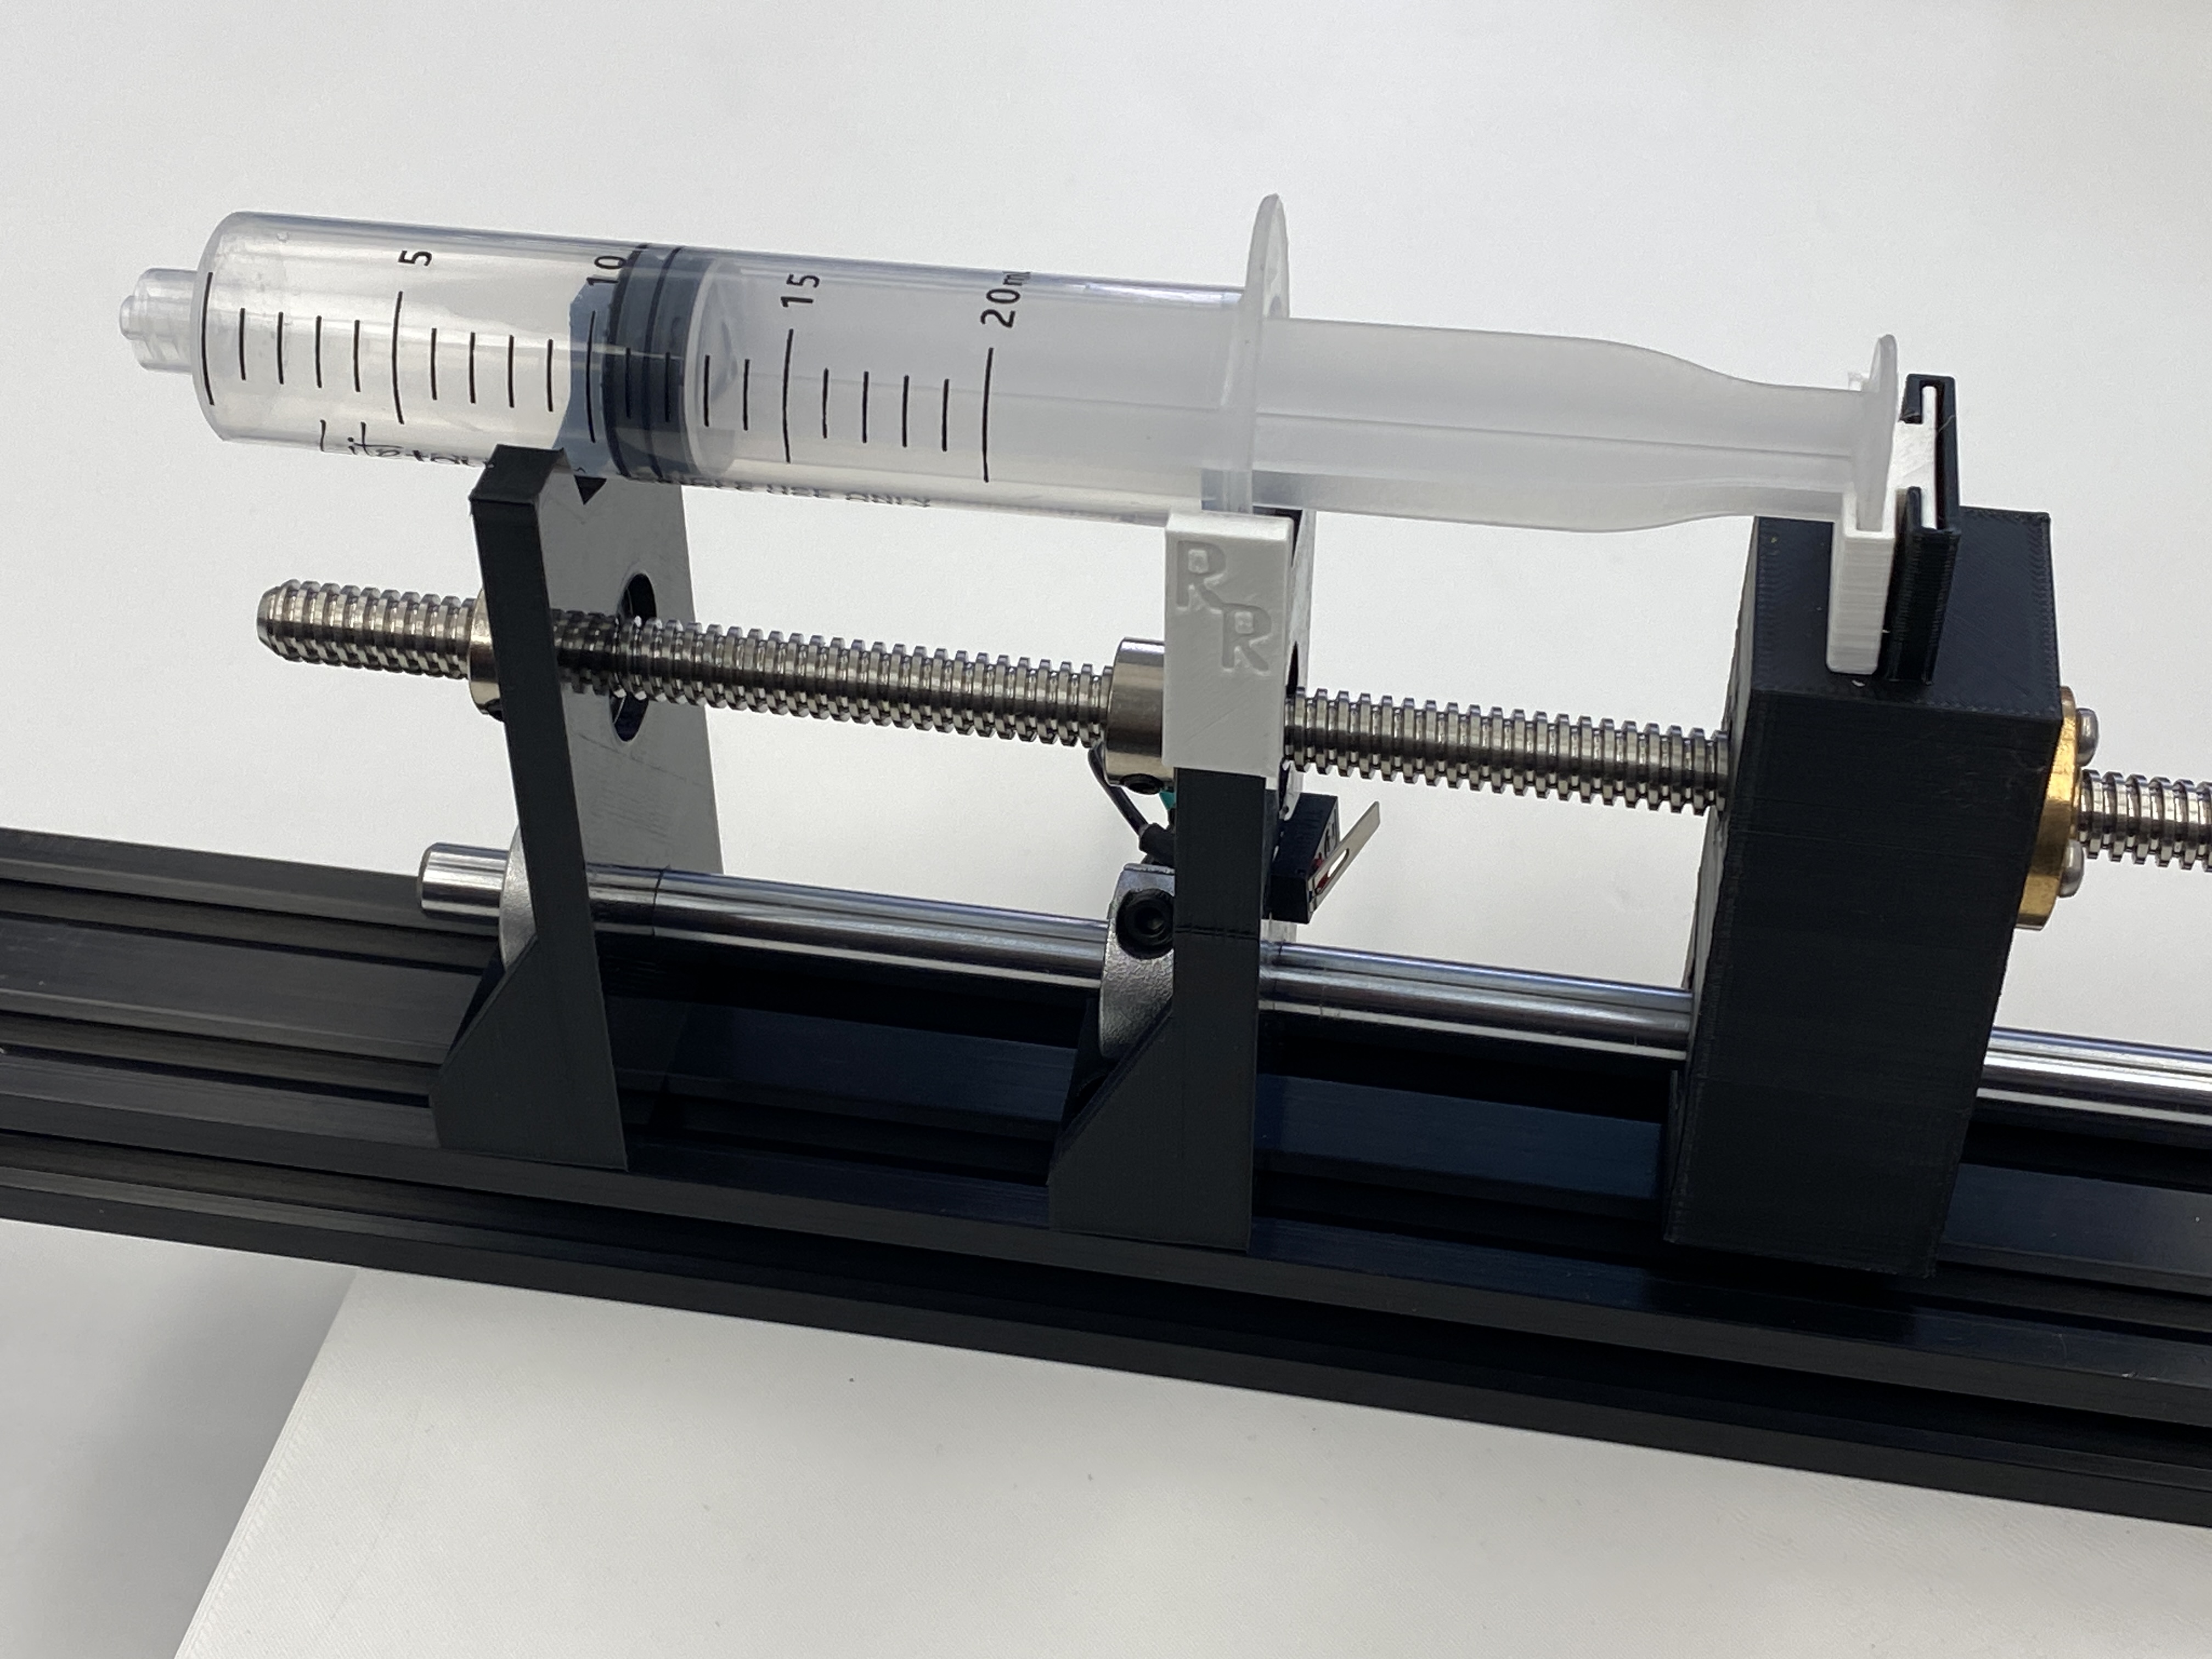
- Limit Switch | To ensure the syringe pump ceases execution when the carriage cannot travel any further, a limit switch was installed on one of the end supports. When triggered, the motor is killed.
- Interchangeable Spacer | This insert allows the carriage to properly pump all sizes of syringe. Specifically, the insert can be chosen so that the carriage triggers the limit switch exactly when the syringe is fully empty.
- LCD Readout | This readout lists the chosen flow rate of the syringe pump as well as the time remaining on its current job. The time remaining dynamically updates as the pump operates. The readout will also alert the user if the chosen flow rate is too high.
- Motor Micro-stepping | The NEMA 17 stepper motor has been configured to utilize micro-stepping. This is a technique used to obtain greater precision from the motor while also making its actuation both smoother and more quiet. The downside is that the maximum reliable flow rate is reduced.
- Fully DIY | This project has been specifically designed to be fully DIY. It utilizes only off the shelf components available cheaply from online retailers and 3D printed parts which can be printed on nearly any filament 3D printer. Thus, this projects acts as a proof of concept for a cheaper, more accessible syringe pump.
- Unique Design and Branding | While aesthetic sensibility does not have an impact on the functionality of the device, it is easy to imagine that a patient would want an unobtrusive and understated design. Thus, the pump bears a classic black and white design scheme with a small branding “flag”.
Below you can see the limit switch which has been heat set into the right support, the interchangeable spacer atop the carriage, and the branding flag bearing the RR mark.
Bill Of Materials
Stock
| Component | Quantity | Link (may be outdated) | Image | |
|---|---|---|---|---|
| 250 mm lead screw; 2mm pitch; 2mm lead | 1 | Amazon |  |
|
| 1/4” x 8mm Flexible Coupling | 1 | OpenBuilds Part Store |  |
|
| 200 mm linear rod; 8mm diameter | 1 | Amazon | 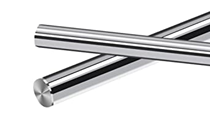 |
|
| LM8UU Linear Bearing for 8 mm diameter rod | 2 | Amazon | 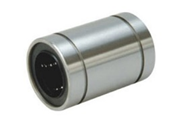 |
|
| 2040 Aluminum Extrusion 1’ length | 1 | OpenBuilds Part Store | 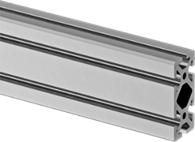 |
|
| Nema 17 Stepper Motor | 1 | Amazon | 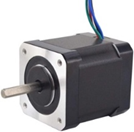 |
|
| MEAN WELL RQ-65D AC-DC Power Supply Quad Output 5V 12V 24V 12V 4 Amp | 1 | Amazon | 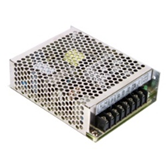 |
|
| Arduino Uno | 1 | Amazon |  |
|
| A4988 Stepper Driver | 1 | Amazon | 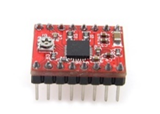 |
|
| Small Breadboard | 1 | Amazon | 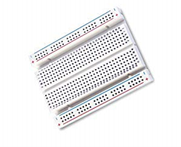 |
|
| Panel Mount Latching Push Buttons | 1 | Amazon |  |
|
| Limit Switch | 1 | Amazon | 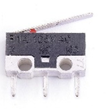 |
|
| RGB Common Cathode | 1 | Amazon | 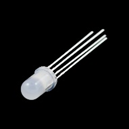 |
Custom 3D Printed
| Component | Quantity | Image |
|---|---|---|
| Motor Mounting Plate | 1 | 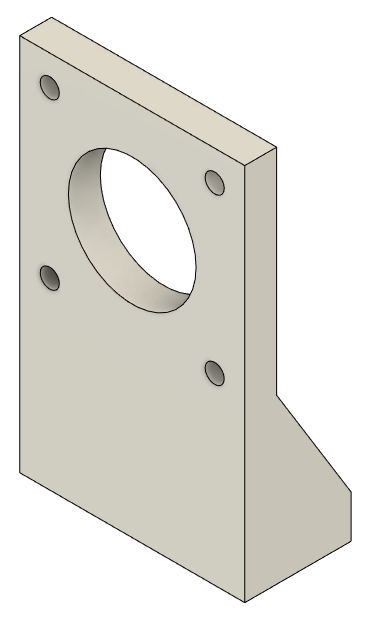 |
| Carriage | 1 | 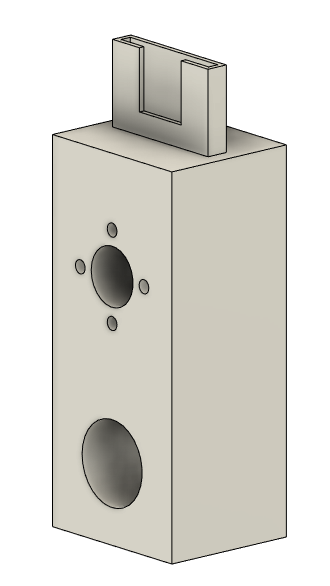 |
| Front End Support | 1 | 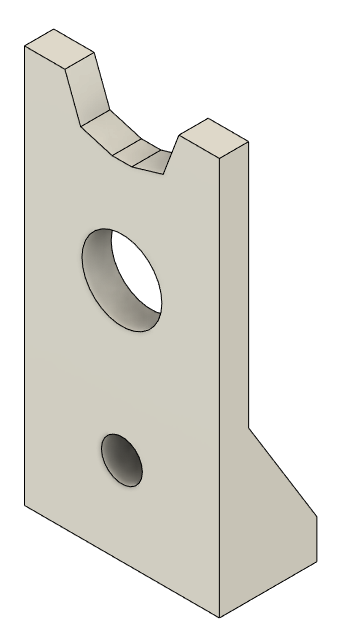 |
| Back End Support | 1 | 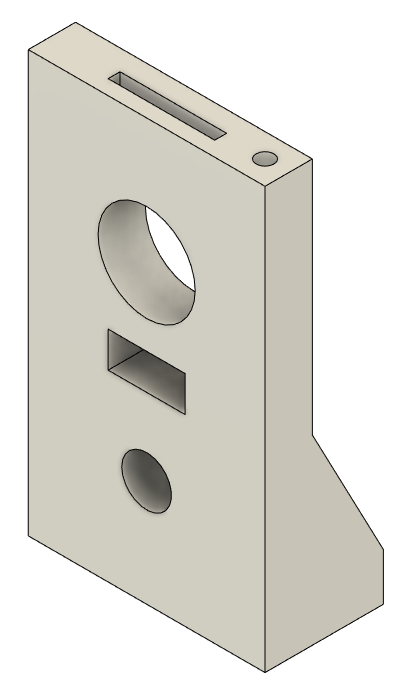 |
| Case | 1 | 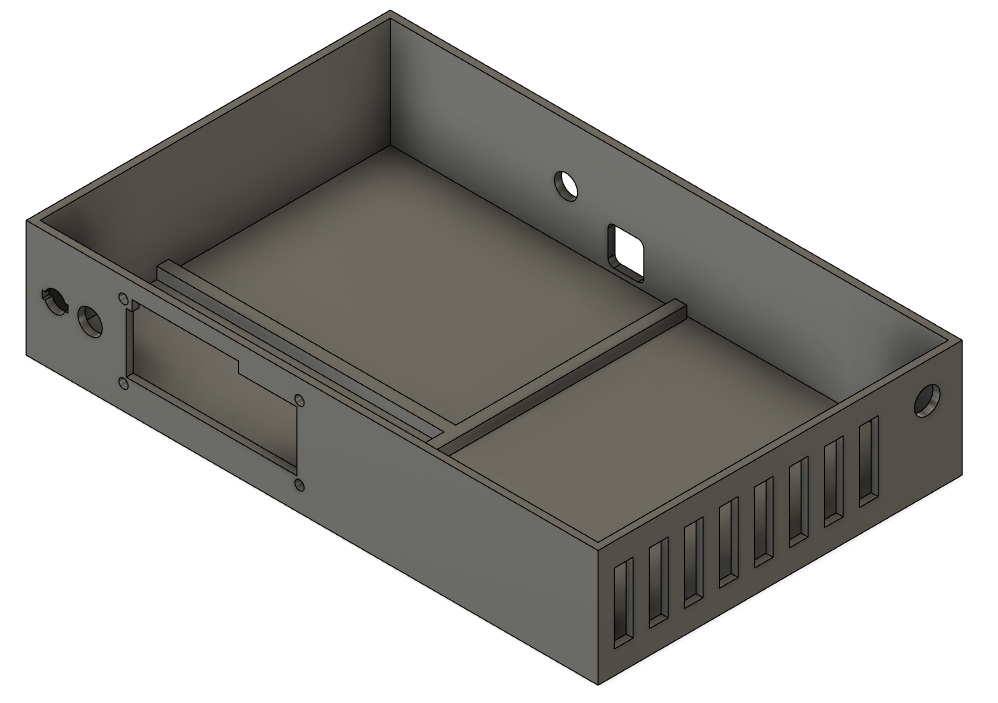 |
| Case Lid | 1 | 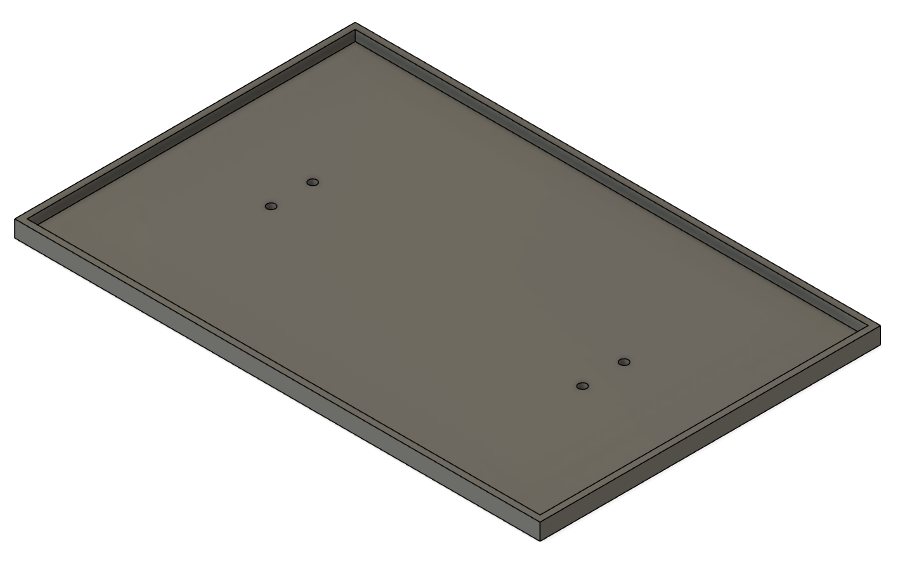 |
| Syringe Offset Inset | 1 | 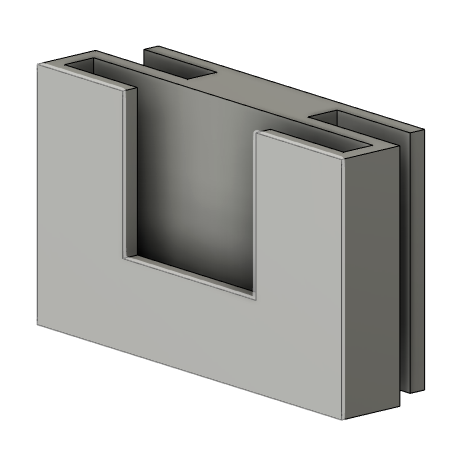 |
| Arduino Holder | 1 | 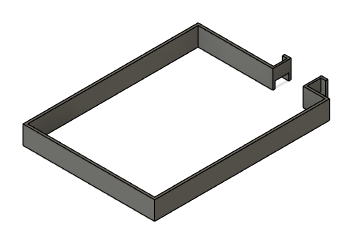 |
| Branding Flag | 1 | 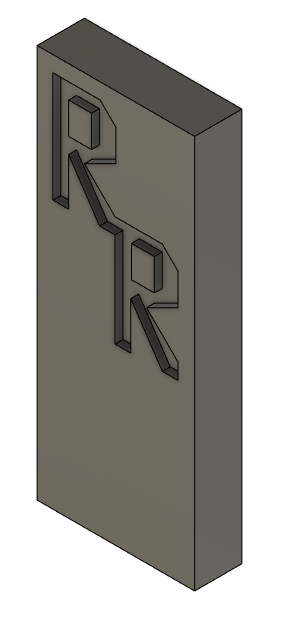 |
Arduino Control Code
Expand
Syringe Pump Assembly
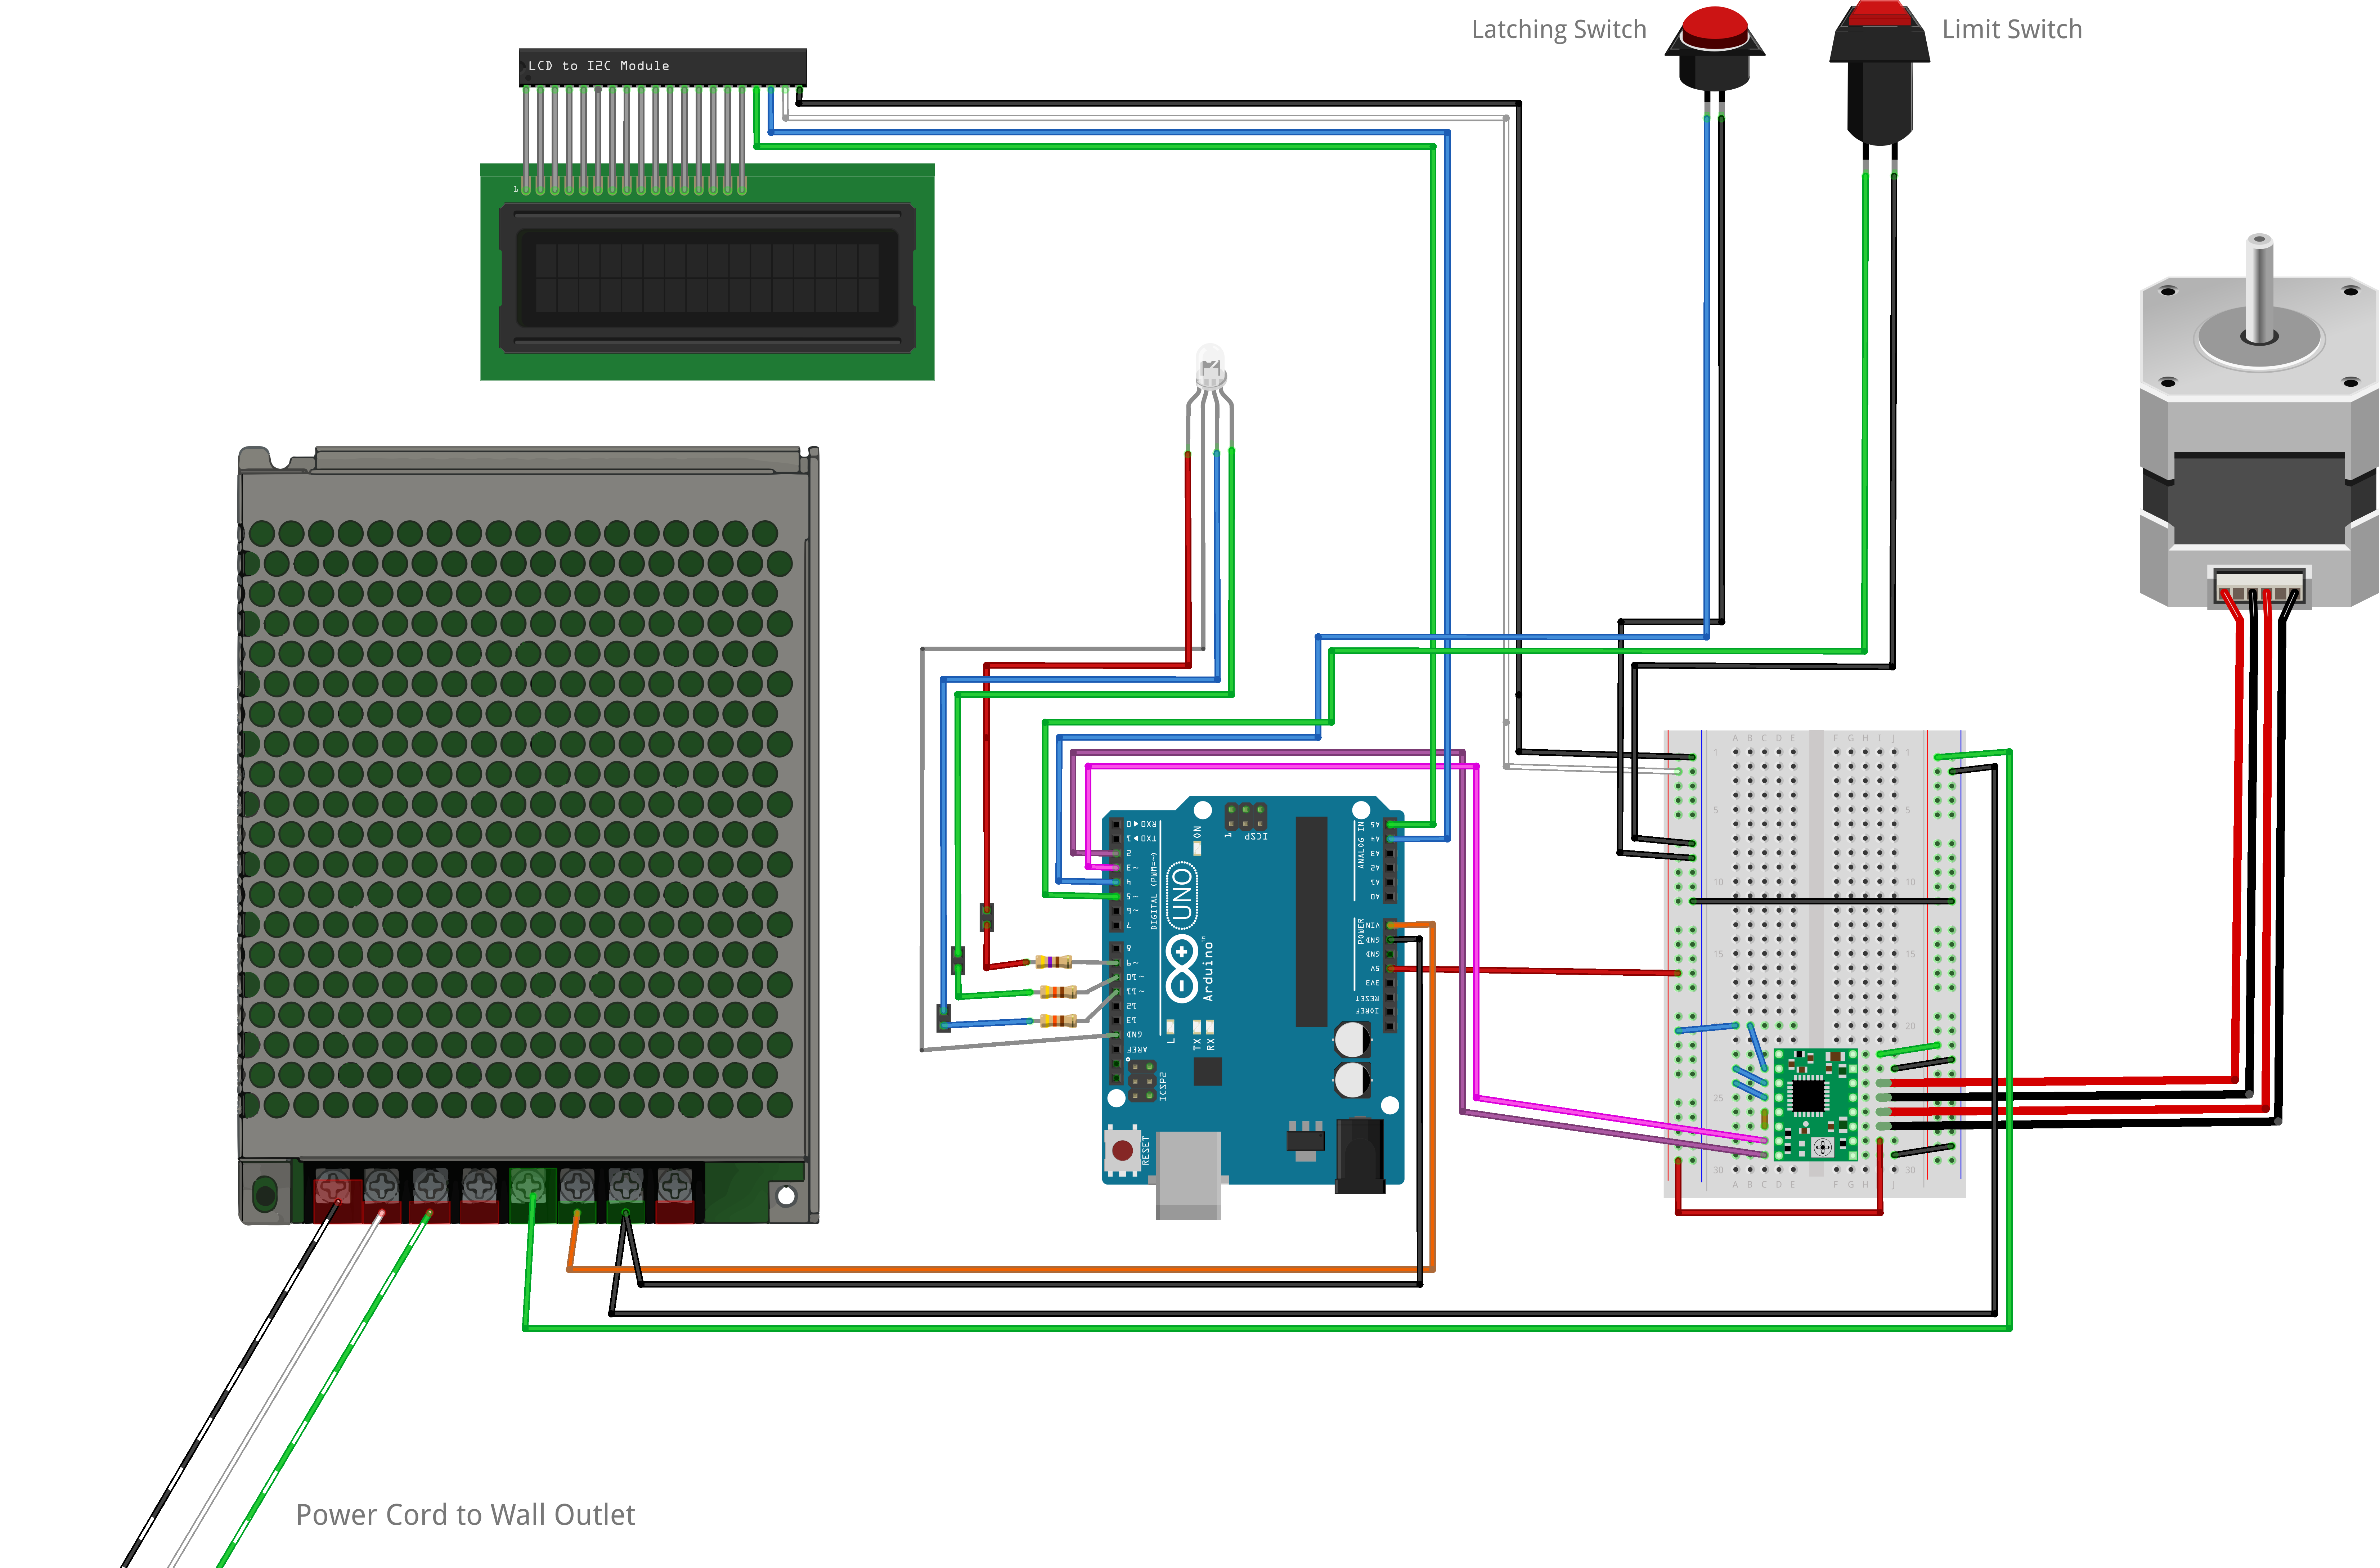
Wiring
Operating Instructions
- Modify the variables in the code
- Upload the code to the Arduino
- Note that you should check the LCD to ensure the specified flow rate is within the valid range
- Place the syringe in the chassis
- Prime the pump by rotating the lead screw until the carriage is positioned correctly
- Plug the syringe pump into the outlet
- Press the latching power button
